
Kafka库的基本操作
我们需要先把两者启动,先启动Zookeeper,再启动Kafka
启动ZooKeeper:./bin/zkServer.sh start
启动kafka:./bin/kafka-server-start.sh ./config/server.properties
我这里使用的是Golang1.14最新版本,并且开启了Go Module, 所以下载的包都会整合在go.mod下
这里使用sarama对kafka进行操作go get github.com/Shopify/sarama
main.go内容如下:1
2
3
4
5
6
7
8
9
10
11
12
13
14
15
16
17
18
19
20
21
22
23
24
25
26
27
28
29
30
31
32
33
34
35
36
37
38
39
40package main
import (
"fmt"
"time"
"github.com/Shopify/sarama"
)
func main() {
config := sarama.NewConfig()
config.Producer.RequiredAcks = sarama.WaitForAll // 发送完数据需要leader和follow都确认
config.Producer.Partitioner = sarama.NewRandomPartitioner// 新选出⼀个partition
config.Producer.Return.Successes = true // 成功交付的消息将在success channel返回
// 连接kafka
client, err := sarama.NewSyncProducer([]string{"localhost:9092"}, config)
if err != nil {
fmt.Println("producer close, err:", err)
return
}
defer client.Close()
for {
// 构造⼀个消息
msg := &sarama.ProducerMessage{}
msg.Topic = "nginx_log"
msg.Value = sarama.StringEncoder("this is a good test, my message is good")
// 发送消息
pid, offset, err := client.SendMessage(msg)
if err != nil {
fmt.Println("send message failed,", err)
return
}
fmt.Printf("pid:%v offset:%v\n", pid, offset)
time.Sleep(10 * time.Millisecond)
}
}
连接Kafka 成功,并且成功生产出数据并在本地消费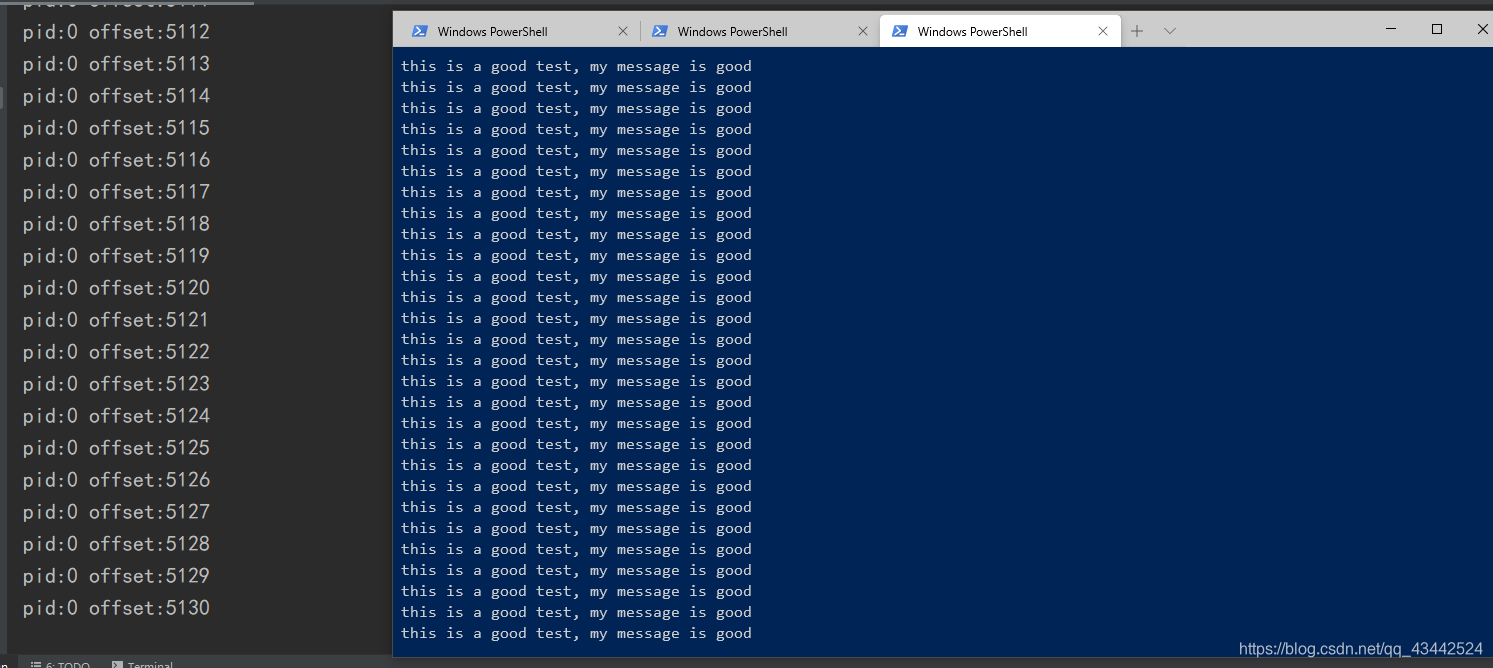
接下来我们还需要知道一个工具的使用tailf
tailf
我们的agent需要读日志目录下的日志文件,而日志文件是不停的增加并且切换文件的,所以我们就需要借助于tailf这个包来读文件,当然这里的tailf和linux里的tail -f命令虽然不同,但是效果是差不多的,都是为了获取日志文件新增加的内容。
而我们的客户端非常重要的一个地方就是要读日志文件并且将读到的日志文件推送到kafka
这里需要我们下载一个包:go get github.com/hpcloud/tail
我们通过下面一个例子对这个包进行一个基本的使用,更详细的api说明看:https://godoc.org/github.com/hpcloud/tail1
2
3
4
5
6
7
8
9
10
11
12
13
14
15
16
17
18
19
20
21
22
23
24
25
26
27
28
29
30
31
32
33
34
35
36package main
import (
"fmt"
"github.com/hpcloud/tail"
"time"
)
// tail demo
func main() {
fileName := "E:\\Go\\logagent\\tailf\\main\\my.log"
config := tail.Config{
ReOpen: true,
Follow: true,
Location: &tail.SeekInfo{Offset: 0, Whence: 2},
MustExist: false,
Poll: true}
tails, err := tail.TailFile(fileName, config)
if err != nil {
fmt.Println("tail file failed, err:", err)
return
}
var (
msg *tail.Line
ok bool
)
for {
msg, ok = <-tails.Lines
if !ok {
fmt.Printf("tail file close reopen, filename:%s\n", tails.Filename)
time.Sleep(time.Second)
continue
}
fmt.Println("msg:", msg.Text)
}
}

日志库的使用
这里是通过beego的日志库实现的,beego的日志库是可以单独拿出来用
1 | package main |
将logagent.conf各个配置读取出来